Rusty Antiques
Archive for the category “My Home”
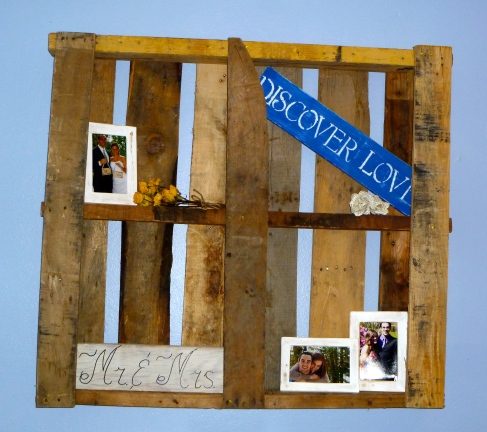
Pallets Around The House
I used this one as a shelf in our bedroom. All you need to get is a clete (hardware store- picture hanging section).
This one is in our laundry room and I have the swiffer and broom in it
I stacked four small pallets on top of each other and made this coffee table!
What have you done with Pallets?
“I could do that!”
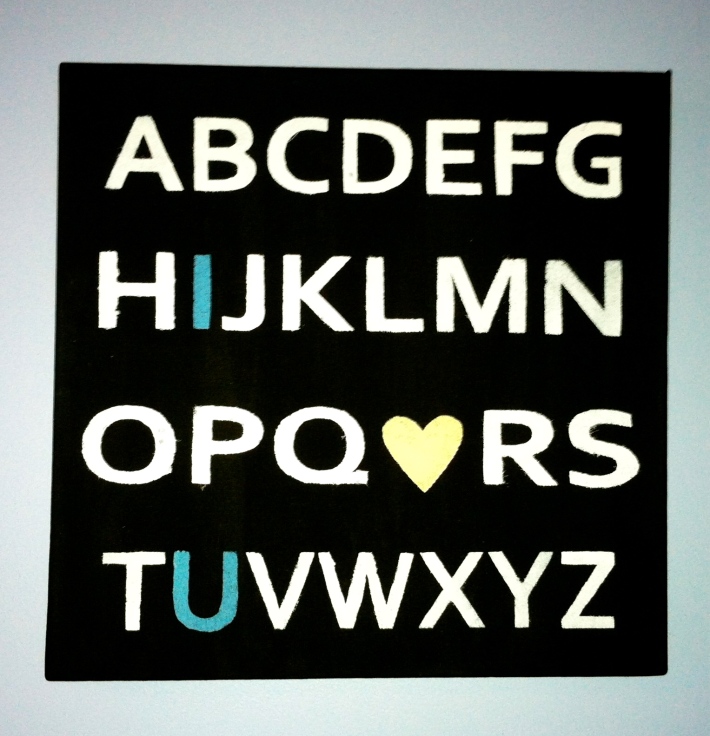
This is one of those situations that I like to call an “I could make that!” moment. I was walking around Target with my hubby and we saw this canvas and he looked at me and said “you can make that” so I took a picture for inspiration and I went home and made it!
I want to inspire you to go out and make something, even if you think you can’t, just try it. Find something that draws you in and take a good look at it, decide what you need in order to make it and go home and make it!
For this project you will need:
– stencils
– stencil brush
– paint brush
– yellow, white, blue and black craft paint
– paper
– scissors
– a square, blank canvas (I used a 12×12)
– patience 🙂
1) Paint your canvas black with your paint brush and then let it dry
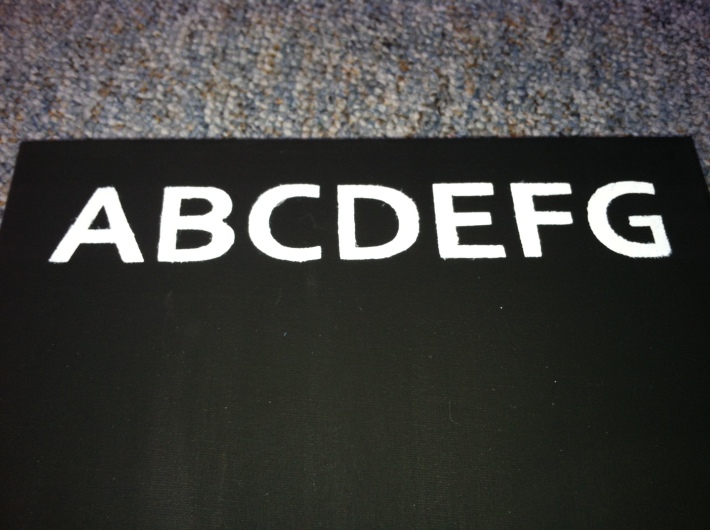
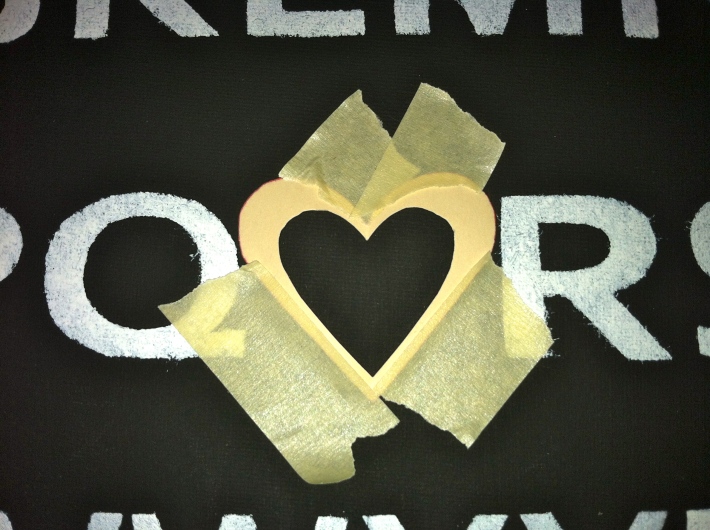
2) You can either make stencils or use stencils. I made my own because I didn’t want that “stencil look.” To make stencils, make a template on word using the “ABC’s” (make sure you leave a space between the “Q” and the “R” for your heart 🙂 Print off your letters and then cut the letters out so it looks like the picture below.
3) Place your letters down on the canvas. You may want to tape your letters down so that they don’t move around when you stencil. I did the first line and the last line first so I could make sure the spacing was correct.
4) Now you can start stenciling. Use a round, stenciling brush (you can find these in the stencil aisle at the craft store). If you made your own stencils, make sure to keep the “insides” of your letters and place them on the canvas in the appropriate spots before you start stenciling.
5) When you stencil the “I” and the “U” you should use a separate brush or make sure to wash out your brush thoroughly so you don’t mix your colors.
6) I did the 3rd line last so I could make sure the heart was in the right spot. I cut out a paper heart and taped it down.
7) the last step is stenciling your heart. Again you can use a different brush or you can use the same one, just make sure you wash it out.
And here it is, my finished project! What do you think? It’s not perfect, but it doesn’t need to be! Remember that when you make yours or something else that inspired you! The fact that you made it is perfect in and of itself! Never say “I can’t do that!” You can do anything you put your mind to, have a lot of fun and a little bit of patience 🙂 Send me your pics, I would love to see what you’re up to!
My New Dining Room
My dining room is now complete.
My chairs and table have been painted, I finally found curtains that I love and I have lampshades that look great and complete the room!
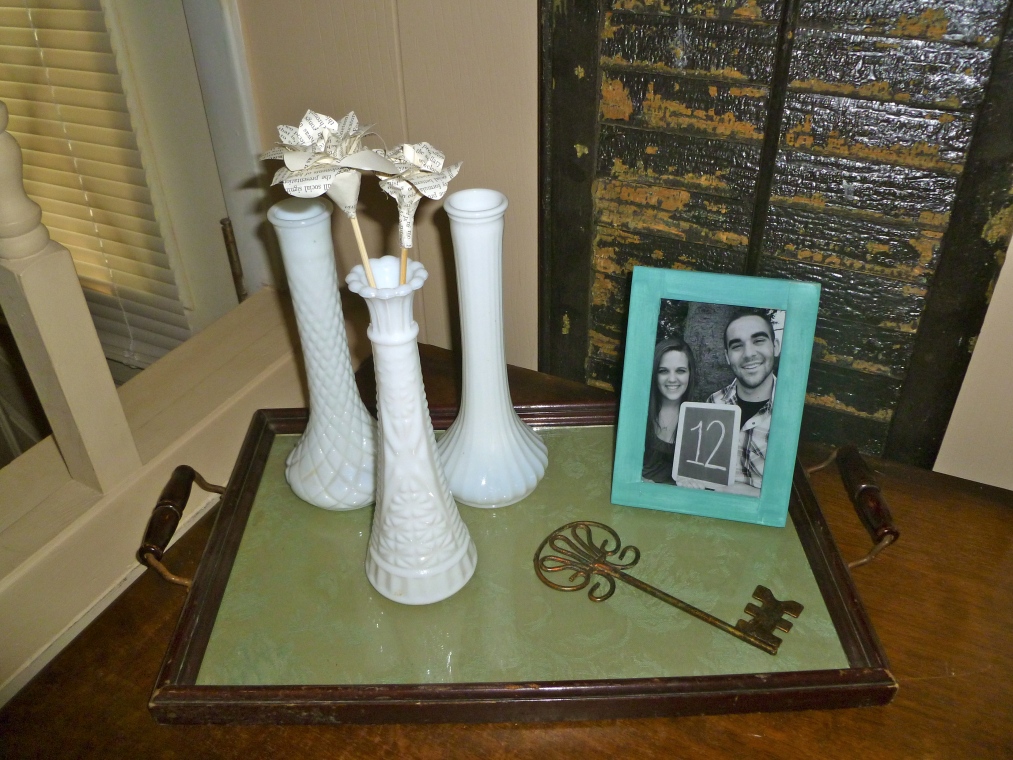
The “12” frame was from our wedding- we used them as table numbers. But we just celebrated our 1 year anniversary so I am using it for now because of the 12 months we’ve been married
I found a tutorial on Pinterest to make these Dandelion pom poms 🙂 I think they go great with the room!
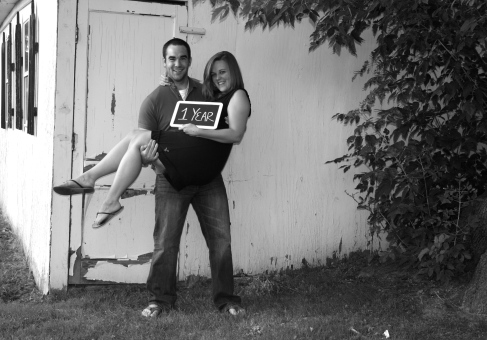
1 Year Anniversary
Sean and I just celebrated our 1 year anniversary
our goal is to do this every year!!
Clever Storage
I bought this box for $2 at a garage sale and it fit perfectly in my bathroom. I think it looks great!
